
How to Make Your Own Shirt Design at Home: A DIY Guide
Imagine the joy of wearing a shirt that you have designed yourself! DIY shirt design not only allows you to express your unique style but also serves as a wonderful creative outlet. Whether you're looking to create a one-of-a-kind piece of clothing for yourself or craft personalized gifts for friends and family, this guide will walk you through the essential steps. From selecting materials to mastering design techniques, you'll find everything you need to get started on your DIY journey.
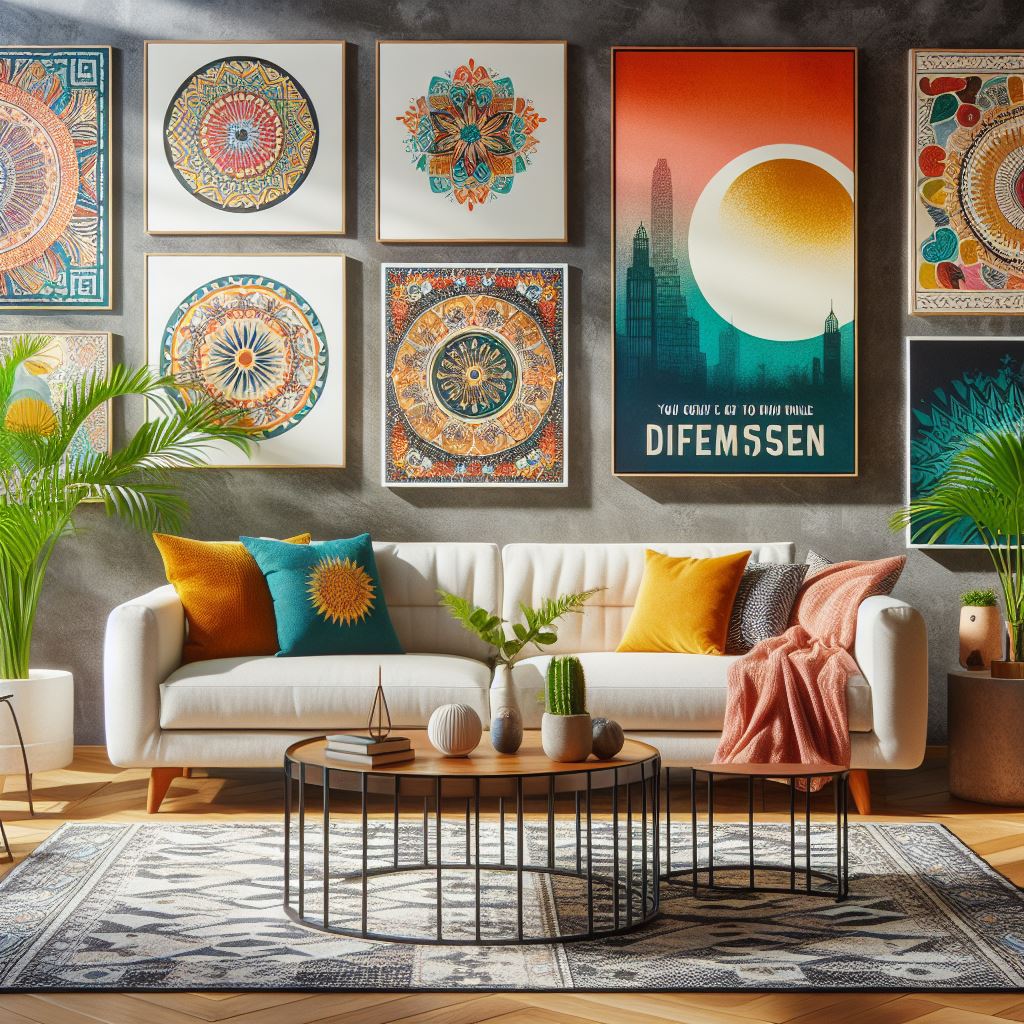
At Old Hippys, we celebrate creativity and individuality, offering products that reflect the spirit of Jesus Hippies. Our online store is packed with tools and materials that can help bring your designs to life. So, why wait? Dive into the world of DIY shirt design and learn more today!
Essential Materials and Tools
Before you dive into the creative process, it's crucial to gather all the essential materials and tools you'll need for your DIY shirt design. Having the right items at your disposal can make the process smoother and more enjoyable.
Here's a list of must-have materials and tools:
- Plain Shirts: Opt for high-quality, plain cotton shirts in your preferred colors. Cotton is a great choice because it holds dye well and is comfortable to wear.
- Fabric Paints and Markers: These are available in a variety of colors and finishes, allowing you to create vibrant and long-lasting designs.
- Stencils: Perfect for those who might not be confident in their freehand drawing skills. Stencils can help you achieve clean, professional-looking designs.
- Brushes and Sponges: Different sizes and types of brushes and sponges can help you achieve various textures and effects.
- Iron and Ironing Board: Essential for setting your design, especially if you’re using fabric paints or markers that require heat to fix the color.
- Protective Gear: An apron and gloves can keep your clothes and hands clean while you work on your masterpiece.
- Design Templates: If you're not starting from scratch, pre-made design templates can serve as an excellent guide.
Once you've gathered these materials, you're well on your way to creating your own amazing shirt designs. Stay tuned for the next section where we'll discuss choosing the right design for your project!
Step-by-Step Design Process

Creating your own shirt design at home is an exciting journey that allows you to express your unique style. Here’s a step-by-step guide to help you through the process:
Step 1: Sketch Your Design
Start by sketching your design on paper. This initial draft doesn't have to be perfect; it's just to get your ideas down. Think about the themes, colors, and patterns you want to incorporate. If you're not confident in your drawing skills, consider using design software to create your template.
Step 2: Transfer the Design
Once you're happy with your sketch, transfer the design onto your shirt. You can do this using transfer paper or by drawing the design directly onto the fabric with a light pencil. Ensure the shirt is laid flat, smooth, and wrinkle-free for the best results.
Step 3: Outline the Design
Using fabric markers or a fine brush with fabric paint, outline your design carefully. This step helps to define the edges and gives you a clear guide for the next stages. Take your time to ensure precision.
Step 4: Fill in the Colors
Now comes the fun part! Begin filling in the colors of your design. Use brushes or sponges for larger areas and fabric markers for smaller details. Remember to work in layers, allowing each layer to dry before adding the next to prevent smudging.
Step 5: Add Final Touches
Once the main colors are in place, add any final touches or details. This could include adding highlights, shadows, or additional patterns. Be creative and let your personality shine through!
Step 6: Set the Design
Finally, set your design by following the instructions on your fabric paints or markers. This usually involves using an iron to heat-set the design, making it washable and durable.
By following these steps, you’ll be well on your way to creating a unique and personalized shirt design. Next, we’ll explore tips and tricks to elevate your DIY project even further!
Techniques for Printing Designs
Once you've nailed down your design, the next step is to decide on the best technique for transferring it onto your shirt. Each method has its own advantages and challenges, so it's essential to choose the one that best suits your needs and resources. Here are some popular techniques for printing designs:
Screen Printing
Screen printing is a traditional method that provides vibrant and durable results. It involves creating a stencil (or screen) and using it to apply layers of ink on the fabric. This technique is ideal for bold, single-color designs but can be more complex and time-consuming for multi-colored patterns.
Heat Transfer
Heat transfer is a versatile technique that uses heat to transfer a printed design from transfer paper to the fabric. It’s perfect for detailed and multi-colored designs. All you need is a heat press or a household iron and special transfer paper. This method can produce high-quality results but may not be as long-lasting as screen printing.
Direct-to-Garment (DTG) Printing
DTG printing is a modern technique that works like an inkjet printer but for fabric. It allows for high-resolution, full-color designs and is great for intricate patterns and gradients. The downside is that it requires specialized equipment, which can be expensive. However, if you plan to make a lot of custom shirts, it might be worth the investment.
Stencil Printing
Stencil printing is a DIY-friendly method that involves cutting out a stencil of your design and using fabric paint to fill it in. This technique is simple and cost-effective but best suited for basic, bold designs. It's an excellent choice for beginners or for those who enjoy a hands-on approach.
Fabric Markers and Paints
If you prefer a more artistic touch, fabric markers and paints allow you to hand-draw your design directly onto the shirt. This method offers the most creative freedom, letting you add personal touches and unique details. Remember to use fabric-specific materials to ensure durability and washability.
By exploring these techniques, you can find the one that best matches your skills and the type of design you want to create. Each method has its own charm and can bring your vision to life in different ways. Up next, we'll discuss some tips and tricks to make your DIY shirt design look professional and polished!
Tips for Long-Lasting Prints
Creating a beautiful design is just the beginning; ensuring that your print stands the test of time is equally important. Here are some tips for long-lasting prints that will help keep your DIY shirt designs looking fresh and vibrant:
Choose the Right Fabric
The foundation of a long-lasting print is the fabric itself. Opt for high-quality, 100% cotton or cotton blends, as these materials tend to hold prints better and endure frequent washing.
Pre-Wash Your Shirt
Always pre-wash your shirt before applying your design. This step removes any sizing or chemicals from the fabric that could interfere with the adhesion of inks or paints. It also helps to pre-shrink the shirt, so your design remains proportional after washing.
Use Quality Inks and Paints
Investing in high-quality inks and paints is crucial. Cheaper materials may fade or crack over time. Look for products specifically formulated for fabric use, as they are designed to be more durable and withstand multiple washes.
Heat Set Your Design
After printing your design, heat-setting is essential to lock in the colors. Follow the manufacturer's instructions for the correct temperature and duration. For most methods, this can be done using a heat press or a household iron. Ensure you cover your design with a piece of parchment paper or a pressing cloth to protect it during the heat-setting process.
Wash and Dry with Care
To prolong the life of your prints, always wash your shirts inside out in cold water. Use a gentle cycle and mild detergent to prevent unnecessary wear and tear. Avoid using bleach or harsh chemicals. When it comes to drying, air drying is best, but if you must use a dryer, opt for the lowest heat setting.
Store Properly
Finally, proper storage can make a significant difference. Keep your printed shirts in a cool, dry place away from direct sunlight to prevent fading. Folding them neatly or hanging them can also help maintain the integrity of the design.
By following these tips, you can ensure that your DIY shirt designs remain vibrant and intact for a long time. In the next section, we’ll explore how to add those final touches to make your custom shirts truly unique and special.
Showcase Your Custom Creations

After putting in the hard work to create your unique shirt design, it's time to showcase your custom creations to the world. Here are some exciting and effective ways to display your handiwork:
Social Media Platforms
In today's digital age, social media is a powerful tool for sharing your creations. Platforms like Instagram, Facebook, and Pinterest are perfect for showcasing your designs. Use high-quality photos and engaging captions to attract attention. Don’t forget to use popular hashtags related to DIY fashion and custom apparel to expand your reach.
Local Craft Fairs and Markets
If you prefer a more personal touch, consider participating in local craft fairs and markets. These events provide a fantastic opportunity to connect with people who appreciate handmade and unique items. Set up an attractive booth, and make sure to bring a variety of your designs to cater to different tastes.
Create an Online Store
For those who want to take their passion a step further, setting up an online store can be a great way to sell your custom shirts. Platforms like Etsy, Shopify, and even your own website can help you reach a broader audience. Make sure to include detailed descriptions and sizes for each item, and showcase your designs with high-quality images.
Collaborate with Local Boutiques
Another way to get your designs out there is by partnering with local boutiques. Many small shops are open to carrying unique, handmade items. Approach store owners with samples of your work and discuss potential consignment or wholesale arrangements.
Wear and Share
One of the simplest yet most effective ways to promote your custom shirts is to wear them yourself. Every time you wear your creation, you become a walking advertisement. When people compliment your shirt, be sure to share that you made it yourself and where they can find more of your designs.
By showcasing your custom creations through these various channels, you can share your passion for DIY fashion with a wider audience and even build a community around your unique style. So, why wait? Learn more today and visit oldhippys.com to get started on your next project!