How to Make Your Own Shirt Designs: A Simple Guide
Creating your own shirt designs is not just a hobby; it's a form of self-expression that allows you to wear your creativity on your sleeve, literally! Whether you're looking to design shirts for personal use, gifts, or even to start your own small business, understanding the basics is crucial. In this guide, we'll walk you through the initial steps to get started on your journey to becoming a shirt designer.
First and foremost, it's essential to understand that **shirt designing** involves a combination of artistic skills and technical know-how. You'll need to familiarize yourself with various materials, printing techniques, and design software. Don't worry; you don't need to be a professional graphic designer to create stunning and unique shirts. With a bit of practice and the right guidance, anyone can learn how to make their own shirt designs.
One of the most exciting aspects of shirt designing is the ability to translate your ideas into wearable art. Imagine wearing a shirt that features your favorite quote or a design that reflects your personality and values. The possibilities are endless, and the only limit is your imagination.
Ready to dive into the world of shirt designing? *Learn more today* visit oldhippys.com and discover a range of tools and resources that will help you create unique, personalized shirts that stand out from the crowd.
Materials Needed for Shirt Designing
Before you begin your shirt designing adventure, you'll need to gather the right materials. Having the proper tools and supplies will not only make the process smoother but also ensure that your designs come out looking professional and polished.
Here are some essential materials you'll need:
- Blank Shirts: Choose high-quality, plain shirts in various colors and sizes. Cotton shirts are popular due to their comfort and ease of printing.
- Fabric Markers or Paints: These are great for hand-drawn designs. Make sure to use markers or paints that are specifically made for fabric to ensure they are permanent and won't wash out.
- Transfer Paper: Useful for transferring printed designs onto your shirt. This is especially handy if you're not confident in your freehand drawing skills.
- Heat Press or Iron: Essential for setting your designs, especially when using heat transfer vinyl or transfer paper. A heat press provides more even pressure and heat, but a household iron can also work.
- Design Software: Programs such as Adobe Illustrator, Photoshop, or even free options like GIMP and Canva can help you create digital designs.
- Cutting Machine: Machines like Cricut or Silhouette are perfect for cutting intricate designs out of vinyl or other materials.
- Vinyl Sheets: Available in various colors and finishes, including matte, glitter, and holographic, vinyl sheets are used for creating designs that you can iron onto your shirts.
By having these materials on hand, you'll be well-prepared to bring your creative visions to life. As you gain more experience, you can experiment with different techniques and materials to expand your shirt designing repertoire.
Choosing the Right Design Tools
Once you've gathered your basic materials, the next step is to choose the right design tools. The tools you select can significantly impact the quality of your final product, so it's important to choose wisely.
Here are some key tools to consider:
- Design Software: Software like Adobe Illustrator and Photoshop are industry standards. They offer a wide range of features that allow for precise control over your designs. For those looking for free alternatives, GIMP and Inkscape are excellent choices.
- Graphic Tablets: If you prefer hand-drawing your designs, a graphic tablet can be a game-changer. Tablets from brands like Wacom and Huion provide a natural drawing experience and can make your designs more nuanced and detailed.
- Font Libraries: Typography can make or break a design. Websites like Google Fonts and DaFont offer free fonts that you can incorporate into your designs. Make sure to choose fonts that align with the overall theme of your shirt.
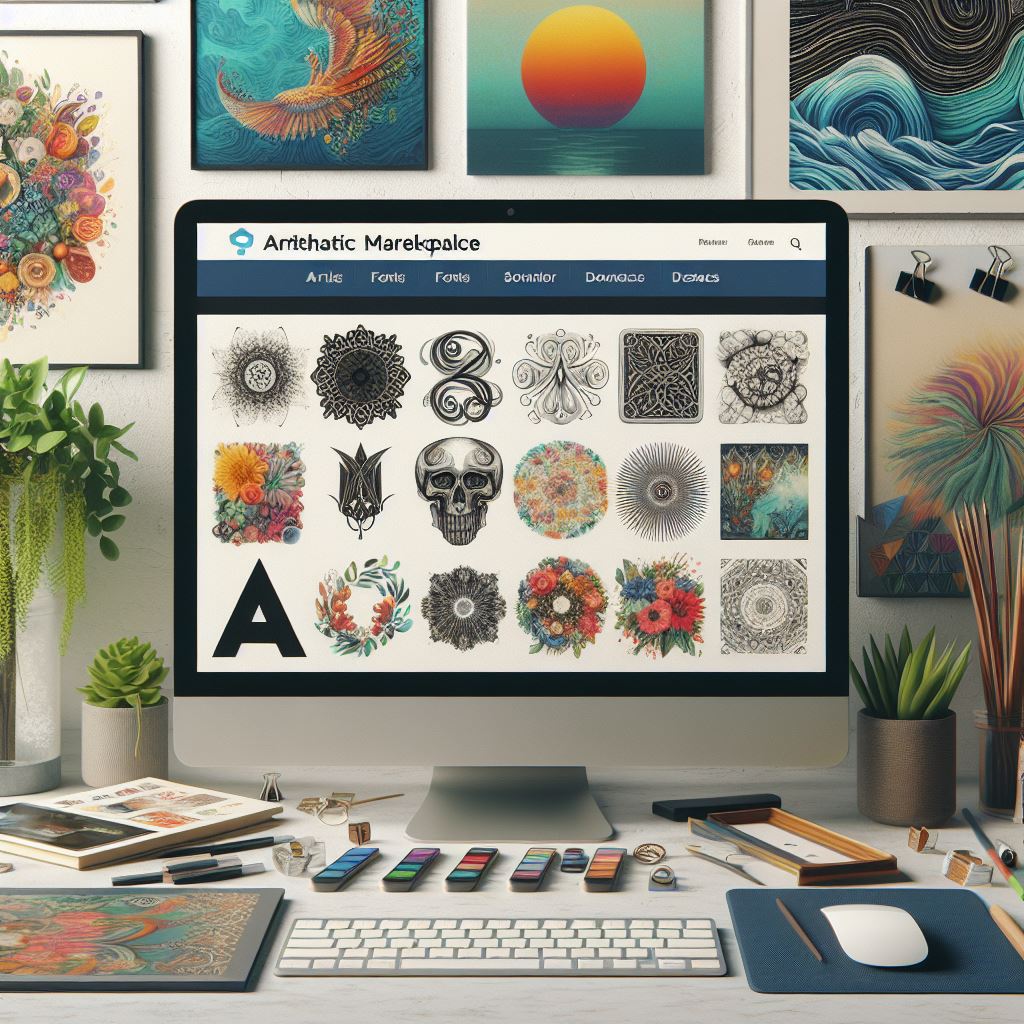
- Vector Graphics: Vector images are scalable without losing quality, making them ideal for shirt designs. Websites like Freepik and Vecteezy offer a plethora of free and premium vector graphics.
- Color Palettes: Choosing the right color scheme is crucial. Tools like Adobe Color and Coolors can help you generate harmonious color palettes that will make your designs pop.
- Mockup Generators: Before committing to a design, it's helpful to see how it will look on a shirt. Websites like Placeit and Smartmockups allow you to upload your designs and see them on various shirt styles and colors.
By investing in the right design tools, you can elevate your shirt designs from amateur to professional. These tools not only simplify the design process but also provide you with the flexibility to experiment and refine your artwork.
Step-by-Step Guide to Designing Shirts
Designing your own shirts can be a rewarding and creative endeavor. Whether you're making shirts for personal use, gifts, or to sell, following a structured process can help ensure your designs turn out great. Here's a step-by-step guide to help you get started:
- Conceptualize Your Design: Begin with a clear idea of what you want your shirt to look like. Sketch out your ideas on paper or use design software to create a rough draft. Consider the theme, colors, and any text or images you want to include.
- Choose Your Canvas: Select the type of shirt you'll be designing. Factors like material (cotton, polyester, blend), color, and size will affect your design choices. Make sure the shirt color complements your design.
- Prepare Your Design: Using your chosen design software, finalize your design. Ensure all elements are aligned and the resolution is high enough for printing. Use vector graphics if possible, as they maintain quality at any size.
- Create a Mockup: Use a mockup generator to see how your design will look on the shirt. This step allows you to make any necessary adjustments before printing.
- Print Your Design: Depending on your resources, you can use various printing methods such as screen printing, heat transfer, or direct-to-garment (DTG) printing. Each method has its pros and cons, so choose the one that best fits your needs.
- Quality Check: Before mass-producing your shirts, print a sample and check for any issues like color consistency, alignment, and print quality. Make any necessary adjustments to your design or printing process.
- Finalize and Produce: Once you're satisfied with the sample, proceed with printing the rest of your shirts. Ensure each shirt meets your quality standards before distribution.
By following these steps, you can create unique, high-quality shirt designs that reflect your personal style or brand. Remember, practice makes perfect, so don't be afraid to experiment and refine your process.
Tips for Perfecting Your Shirt Designs
Creating the perfect shirt design involves more than just following a step-by-step guide. Here are some tips to help you refine your designs and make them stand out:
- Understand Your Audience: Knowing who you are designing for is crucial. Whether it's a specific age group, gender, or interest group, tailor your designs to appeal to your target audience. Conduct surveys or seek feedback to better understand their preferences.
- Keep It Simple: Sometimes, less is more. Avoid overcrowding your design with too many elements. A clean, simple design can often be more impactful and visually appealing than a busy one.
- Focus on Typography: If your design includes text, pay special attention to the typography. Choose fonts that are easy to read and match the theme of your design. Experiment with different font combinations to find the perfect match.
- Play with Colors: Colors can make or break your design. Use a color palette that complements your design and the shirt color. Consider the color psychology and how different colors evoke different emotions.
- Use High-Quality Images: Ensure that any images or graphics you use are high resolution. Low-quality images can appear pixelated and unprofessional when printed. Vector graphics are ideal as they maintain their quality at any size.
- Test Different Sizes: Before finalizing your design, test how it looks in different sizes. What looks good on a small screen might not look as good on a larger one. Ensure your design is scalable and looks great in various sizes.
- Get Feedback: Don’t hesitate to seek feedback from others. Show your designs to friends, family, or potential customers and ask for their opinions. Constructive criticism can provide valuable insights and help you improve your designs.
- Stay Updated on Trends: Keep an eye on current fashion and design trends. While you don’t have to follow every trend, being aware of what’s popular can inspire new ideas and keep your designs relevant.
By incorporating these tips into your design process, you’ll be well on your way to creating perfect, eye-catching shirt designs. Remember, the key to success is continuous learning and improvement.
Showcasing and Wearing Your Custom Shirts
After investing time and creativity into making your own shirt designs, the next exciting step is showcasing and wearing your custom creations. Not only does this allow you to share your unique style, but it also opens up opportunities for feedback and potential sales if you’re looking to market your designs.
Showcasing Your Designs:
- Social Media: Platforms like Instagram, Facebook, and Pinterest are excellent for showcasing your designs. Post high-quality images of your shirts, share behind-the-scenes looks at your design process, and engage with your audience by asking for their opinions.
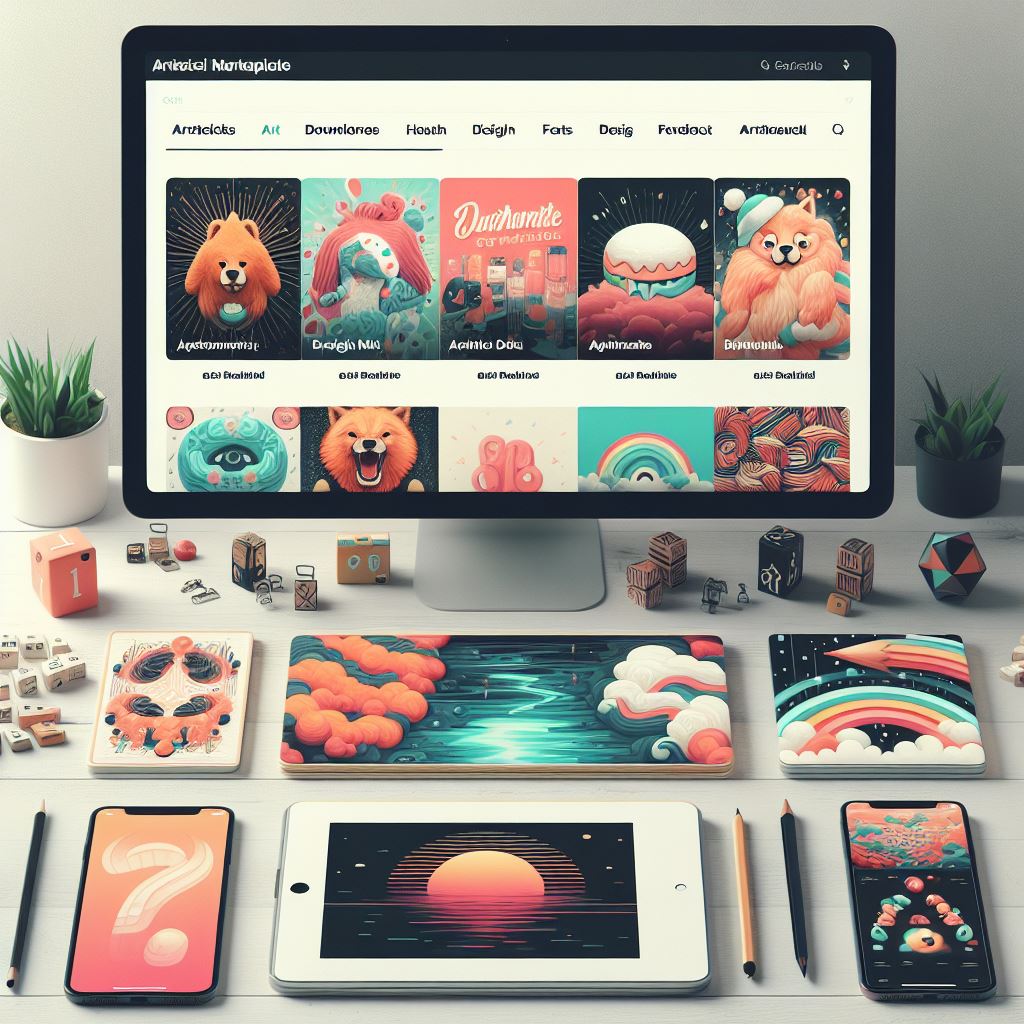
- Online Store: If you’re looking to sell your custom shirts, consider setting up an online store. Websites like Etsy, Shopify, and Big Cartel provide user-friendly interfaces to help you create an attractive storefront for your designs.
- Local Markets and Events: Participate in local craft fairs, markets, and events to display your shirts in person. This not only builds brand awareness but also allows you to connect with customers face-to-face.
- Collaborations: Partner with influencers or local businesses to showcase your designs. Collaborations can help you reach a wider audience and add credibility to your brand.
Wearing Your Custom Shirts:
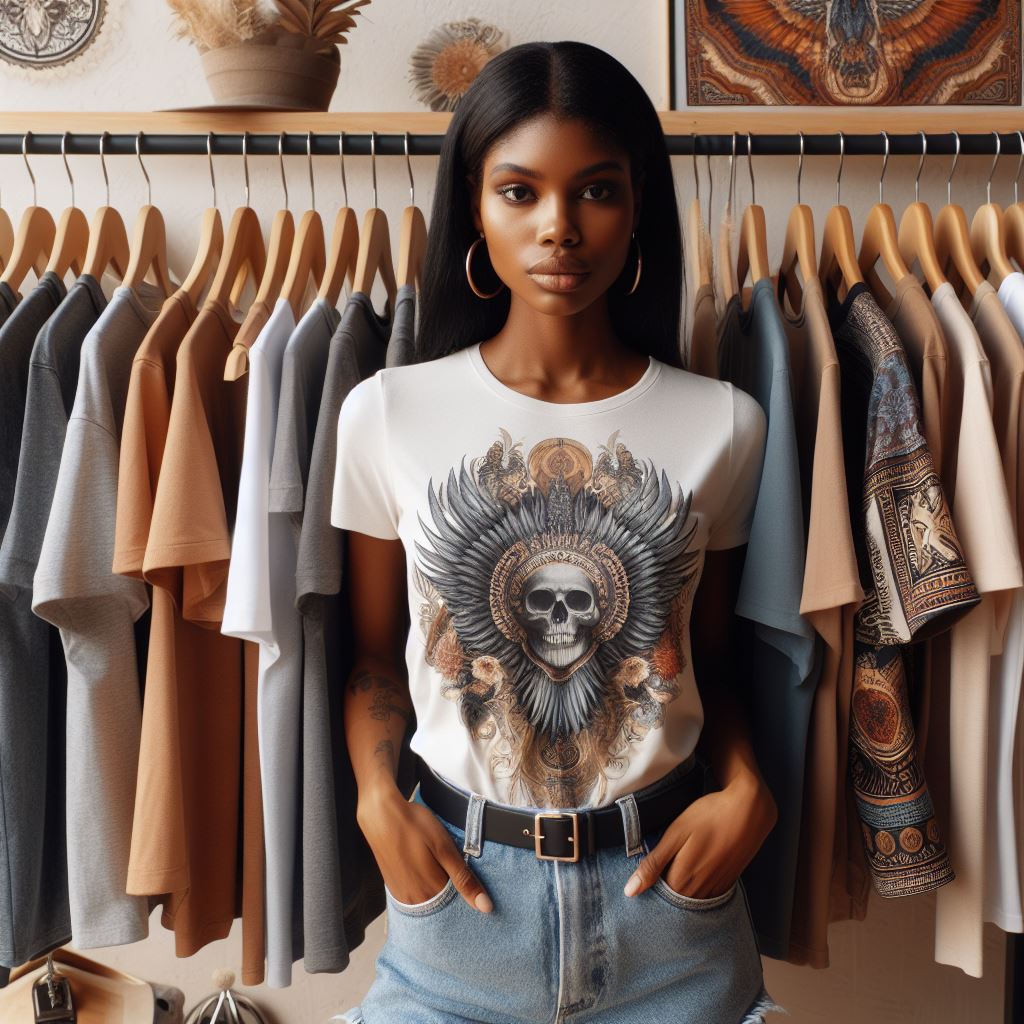
- Be Your Own Model: Wear your designs proudly! This not only serves as a great marketing tool but also shows your confidence in your creations. When people compliment your shirt, share the story behind it and where they can get one.
- Friend and Family Support: Encourage friends and family to wear your shirts. They can help spread the word and provide honest feedback on the designs.
- Host a Launch Party: Organize a small event to launch your new designs. Invite friends, family, and potential customers to see and purchase your shirts. This can create a buzz and generate initial sales.
By effectively showcasing and wearing your custom shirts, you can build a strong presence and create a loyal following for your unique designs. Ready to dive deeper into the world of custom shirt designing? Learn more today, visit oldhippys.com.