How to Paint Your Own Canvas Wall Art Like a Pro!
Share
Welcome to the vibrant world of canvas wall art! Whether you're a seasoned artist or a beginner looking to explore your creative side, painting your own canvas wall art can be an incredibly rewarding experience. Canvas wall art adds a unique touch to any space, reflecting your personal style and creativity. It’s not just about putting paint on a canvas; it’s about expressing your inner thoughts, emotions, and experiences through art.
In this guide, we will delve deep into the essentials of creating stunning canvas art pieces. From choosing the right materials to mastering various painting techniques, you'll find everything you need to get started on your artistic journey. So why wait? oldhippys.com">Learn more today!
One of the biggest joys of painting your own canvas wall art is the freedom it offers. Unlike pre-made art, your creation is a blank canvas waiting for your personal touch. You get to decide the colors, shapes, and themes that resonate with you. This level of customization allows your artwork to become a true extension of yourself.
Moreover, painting can be a therapeutic activity. The process of creating art can help reduce stress, improve mental clarity, and boost your mood. Imagine immersing yourself in an afternoon of painting, with calming music in the background and a cup of herbal tea by your side. Sounds delightful, doesn't it?
Stay tuned as we guide you through each step of the process. By the end of this article, you’ll have all the knowledge you need to create your own masterpiece. Don't miss out on the opportunity to bring your artistic visions to life—visit oldhippys.com for more inspiration and resources.
Essential Painting Supplies

Before you dive into the world of creating your own canvas wall art, it’s crucial to gather the essential supplies that will set you up for success. Having the right materials not only makes the process smoother but also enhances the quality of your artwork.
Here's a list of must-have supplies to get you started:
- Canvas: The foundation of your artwork. Canvases come in various sizes and textures, so choose one that fits your project and skill level. Pre-stretched canvases are a popular choice for beginners.
- Acrylic Paints: These are versatile, fast-drying paints that are perfect for canvas art. They come in a wide range of colors and can be easily mixed to create custom shades.
- Brushes: A set of good quality brushes is essential. Look for a variety of sizes and shapes to accommodate different painting techniques. Synthetic brushes are often recommended for acrylic paints.
- Palette: Used for mixing paints. A traditional wooden palette or a disposable paper palette will do the job.
- Palette Knife: Useful for mixing paints on your palette and for applying thick layers of paint to your canvas.
- Easel: While not absolutely necessary, an easel can make painting more comfortable and help you maintain proper posture.
- Water Container: For rinsing your brushes. Make sure to change the water frequently to keep your colors vibrant.
- Rags or Paper Towels: Handy for cleaning brushes and wiping up spills.
Having these supplies on hand will ensure that you are well-prepared to embark on your painting journey. Remember, investing in good quality materials can make a significant difference in the outcome of your artwork. So, gather your supplies, set up your creative space, and get ready to paint like a pro!
Choosing the Right Canvas

Selecting the right canvas is a pivotal step in creating your own canvas wall art. The type of canvas you choose can significantly impact the final outcome of your artwork. Here’s a guide to help you make an informed decision:
Types of Canvas:
- Stretched Canvas: This is the most common type of canvas, where the fabric is stretched over a wooden frame. It’s ready to use and comes in various sizes and thicknesses. Look for canvases with a solid, well-built frame to avoid warping.
- Canvas Panels: These are made by mounting canvas onto a rigid board. They are more affordable and lightweight, making them a good option for beginners and small projects.
- Canvas Rolls: Ideal for artists who want to customize their canvas size. You’ll need to stretch and mount it yourself, which requires additional tools and skills.
Canvas Material:
- Cotton: The most popular material for canvases. It’s affordable, flexible, and provides a good surface for acrylic paints. Cotton canvases often come pre-primed with gesso, making them ready to paint.
- Linen: Known for its durability and superior quality, linen is more expensive than cotton. It has a finer texture, making it suitable for detailed work. Linen canvases are often preferred by professional artists.
Texture and Weight:
- Texture: Canvases come in different textures, from smooth to rough. Choose a texture that complements your painting style. A smoother texture is ideal for fine detail work, while a rough texture is great for bold, expressive strokes.
- Weight: The weight of the canvas is measured in ounces per square yard. Heavier canvases (10 oz and above) are more durable and less likely to sag over time. Lighter canvases (8 oz and below) are more affordable but may require extra care.
By understanding these aspects, you can choose a canvas that best suits your needs and enhances your creative expression. Whether you opt for a pre-stretched canvas or decide to stretch your own, ensure it meets the demands of your project and personal style. Happy painting!
Basic Painting Techniques

Mastering basic painting techniques is essential for anyone looking to create stunning canvas wall art. These foundational skills will not only help you achieve the desired effects but also build your confidence as an artist. Here are some essential techniques to get you started:
Blending:
Blending is the art of smoothly transitioning between colors. To blend effectively, start by applying two different colors side by side on the canvas. Use a clean, dry brush to gently mix the edges where the colors meet, creating a seamless gradient. This technique is perfect for backgrounds, skies, and creating depth.
Dry Brushing:
Dry brushing involves using a brush with very little paint. Dip your brush lightly into the paint, then wipe off the excess on a paper towel. Apply the brush to the canvas with light, quick strokes. This technique adds texture and can be used to create the appearance of fur, grass, or other fine details.
Laying a Wash:
A wash is a thin, translucent layer of paint applied to the canvas. To create a wash, dilute your paint with water or a medium. Use a large brush to apply it in even, sweeping motions. Washes are excellent for backgrounds, underpainting, and adding a soft, atmospheric effect.
Scumbling:
Scumbling is a technique where you apply a thin layer of opaque or semi-opaque paint over a dry, darker layer. Use a dry brush and light pressure to create a broken, textured effect. This technique is great for adding highlights, depth, and a sense of movement.
Stippling:
Stippling involves applying small dots of paint to the canvas. Use the tip of a brush, sponge, or even a toothbrush to create these dots. Vary the density and size of the dots to create texture, shading, and intricate patterns. This technique is especially useful for creating foliage, textures, and abstract designs.
Glazing:
Glazing is the application of a thin, transparent layer of paint over a dry layer. Mix your paint with a glazing medium to achieve the desired transparency. Apply it with smooth, even strokes. Glazing can enhance colors, add depth, and create luminous effects.
By practicing these basic techniques, you’ll develop a solid foundation for your artistic journey. Experiment with each method to see how they can be combined and adapted to your unique style. Remember, every stroke brings you one step closer to creating your masterpiece!
Adding Your Personal Touch

One of the most rewarding aspects of creating your own canvas wall art is the ability to infuse it with your unique personality and style. Adding your personal touch ensures that your artwork is truly one-of-a-kind and reflects your individual creativity. Here are some ways to make your art uniquely yours:
Incorporate Symbols and Imagery:
Think about the symbols, motifs, or images that hold special meaning for you. It could be anything from celestial bodies like stars and moons, to spiritual symbols such as the cross or fish. Integrating these elements into your canvas can add depth and personal significance to your artwork.
Use a Unique Color Palette:
Colors can evoke emotions and set the mood of your painting. Choose a color palette that resonates with you. Whether you prefer earthy tones, vibrant hues, or pastel shades, your choices can transform a simple canvas into a visual representation of your inner world.
Experiment with Mixed Media:
Don't be afraid to go beyond traditional paint. Incorporate other materials such as fabric, paper, or even natural elements like leaves and flowers. Mixed media can add texture and dimension to your canvas, making it more tactile and interesting.
Express Your Emotions:
Art is a powerful outlet for expressing emotions. Let your feelings guide your brushstrokes and color choices. Whether you are feeling joy, peace, or contemplation, allowing your emotions to flow onto the canvas can create a more authentic and heartfelt piece.
Include Text and Quotes:
Words can add an extra layer of meaning to your art. Consider incorporating text or quotes that inspire you. This could be a favorite Bible verse, a line from a poem, or a personal mantra. The combination of words and visual elements can create a powerful impact.
By adding these personal touches, you not only enhance the visual appeal of your canvas but also create a piece that tells your story. Remember, there are no rules in art—only opportunities to explore and express your creativity. Embrace your individuality and let it shine through your work!
Preserving and Displaying Your Art
After investing time, effort, and creativity into your canvas wall art, it’s essential to ensure that it remains beautiful and vibrant for years to come. Properly preserving and displaying your art not only protects your masterpiece but also enhances its visual impact in your living space.
Sealing Your Artwork:
Once your painting is dry, apply a clear acrylic sealer to protect it from dust, moisture, and UV rays. This extra layer safeguards your colors from fading and adds a professional finish. Choose a matte or glossy sealer depending on the desired effect.
Framing Your Canvas:
Framing adds a polished look to your artwork and provides additional protection. Opt for a frame that complements your painting without overpowering it. Floating frames are particularly popular for canvas pieces as they give the illusion that the art is floating within the frame.
Choosing the Right Location:
Where you display your art can make a significant difference. Select a location with moderate lighting to prevent color fading. Avoid direct sunlight and areas with high humidity, like bathrooms. The living room, bedroom, or hallway are ideal spots for showcasing your creativity.
Hanging Techniques:
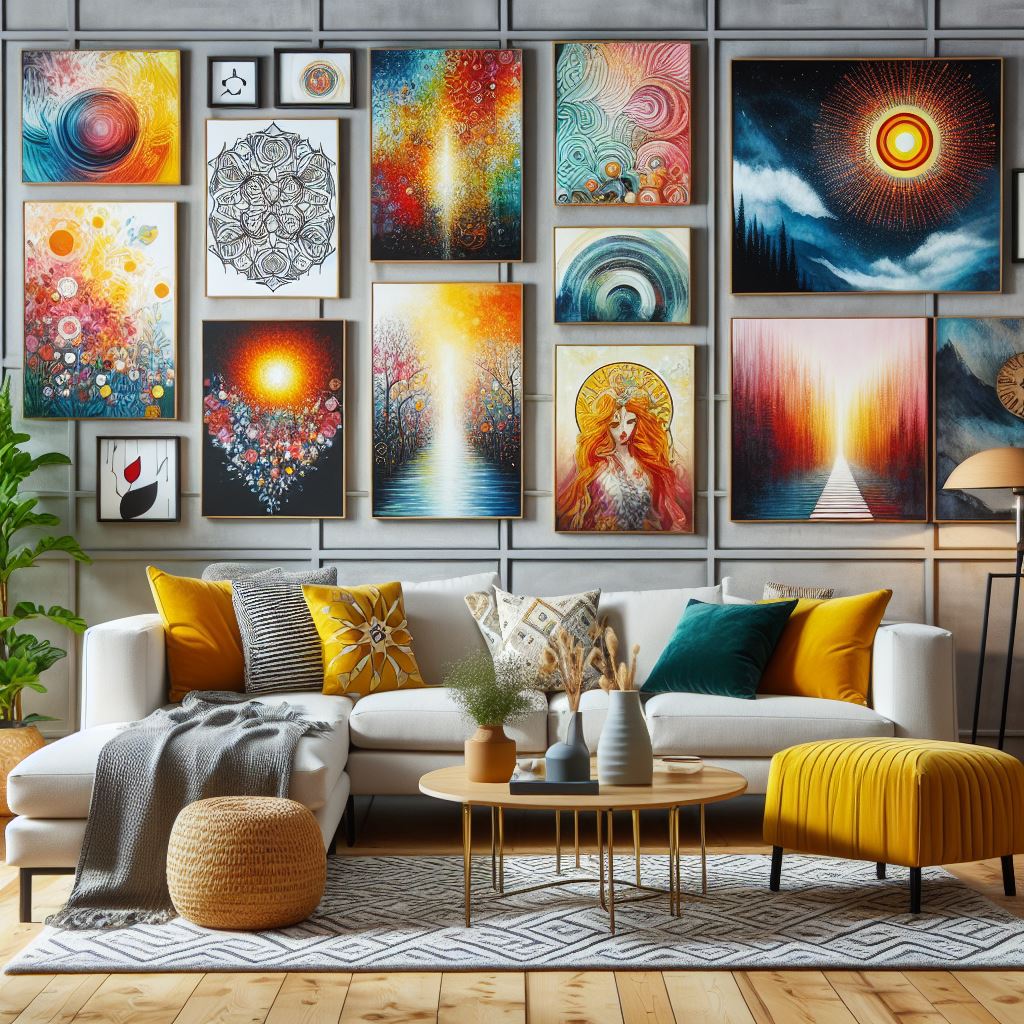
Use proper hanging hardware to ensure your canvas is secure. Picture hooks, D-rings, or wire hangers are reliable options. When hanging multiple pieces, consider a cohesive arrangement. A gallery wall, for instance, can create a stunning visual statement.
Regular Maintenance:
Keep your artwork looking fresh by dusting it regularly with a soft, dry cloth. For deeper cleaning, lightly dampen the cloth with water, but avoid using harsh chemicals that could damage the paint. Regular maintenance prevents dust buildup and keeps your art in pristine condition.
By following these preservation and display tips, your canvas wall art will remain a cherished part of your home decor for years to come. Ready to start your next creative project and oldhippys.com">learn more today? Visit oldhippys.com for inspiration, supplies, and all things related to Jesus Hippies culture!
